
Coding a Camera
Programming the Player’s View of the World
By Cade Cary - QA Director, Camera & Audio Programmer
Camera implementation is a crucial part of the gameplay experience, but it doesn’t seem to get much attention when done well. During playtests, I usually had to ask specifically about the camera for feedback from players. The typical response I would then receive was that it was great and that they didn’t consider it since it was unproblematic. It seems that the camera is noticed most by players when they are fighting against it due to poor implementation. Because of this, the camera is the unsung hero regarding how the player sees and interacts with the game world.
As I was working on the camera implementation, I listened to Alex, our creative lead, for feedback about what he was envisioning. One of the things he wanted was proper y-axis damping. This is where the up and down movement of the camera is smoothed out when the player moves up and down quickly, such as when jumping. Damping is critical in helping mitigate camera shakiness. Without damping, the player will be in for a rough ride.
Implementation of the y-axis damping was relatively straightforward. First, I created a variable for the vertical damping that can be changed in-editor, and another variable called “smoothed-y”. In the _process function, I used a lerp function to transition from the smoothed-y value to a target-y value, scaled by vertical damping and delta time. Finally, I assigned the smoothed-y value to the camera’s global position. This task didn’t involve many lines of code, but it has an important impact on the game.
Another thing Alex wanted was for the camera to show 60 percent of the screen in front of the character’s directional facing, and 40 percent behind him for platforming sections, so that players will be able to anticipate the obstacles in front of them. Conversely, when our hero Esquelito is within enemy detection range, the camera is to be centered on him. This is to help the player with situational awareness when in a combat situation. On top of these requirements, the camera had to transition back and forth between platforming mode and combat mode smoothly and seamlessly.
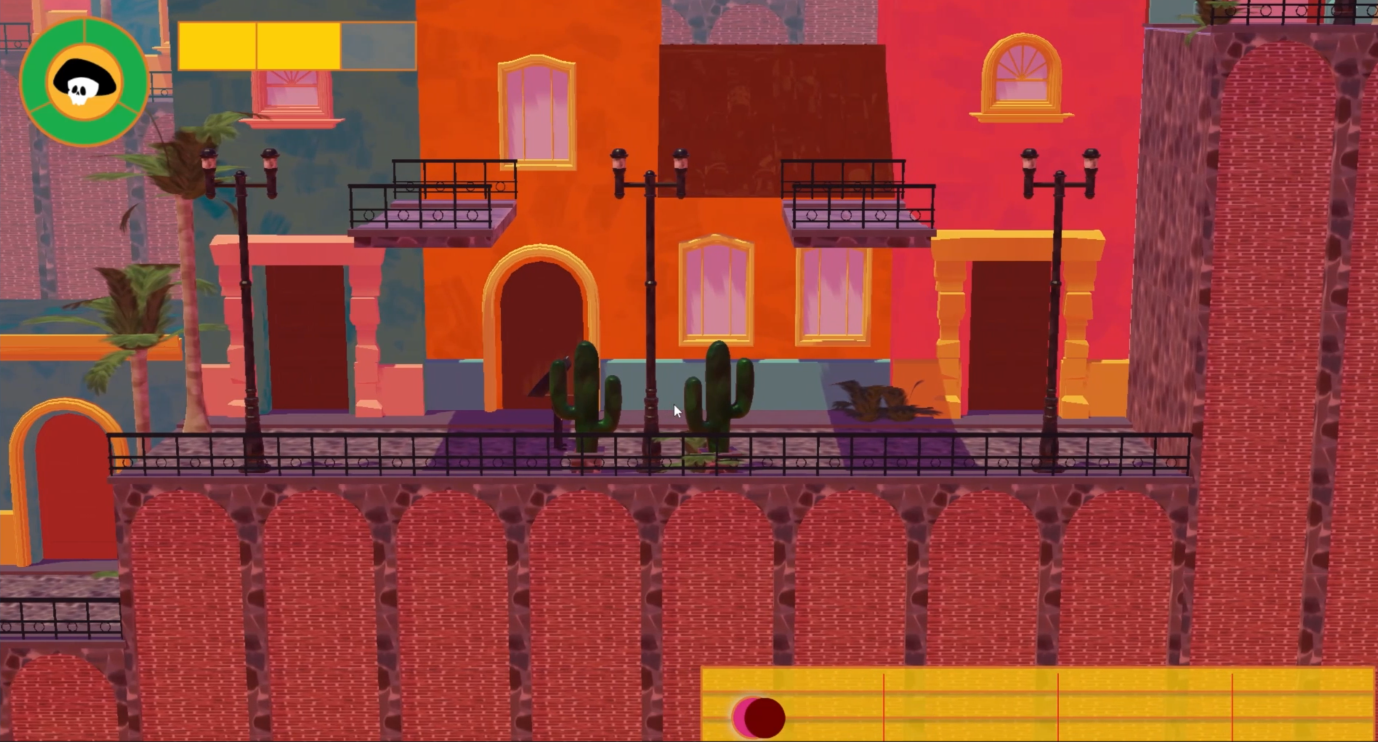
Facing right platforming camera mode: 60% screen in front of player direction
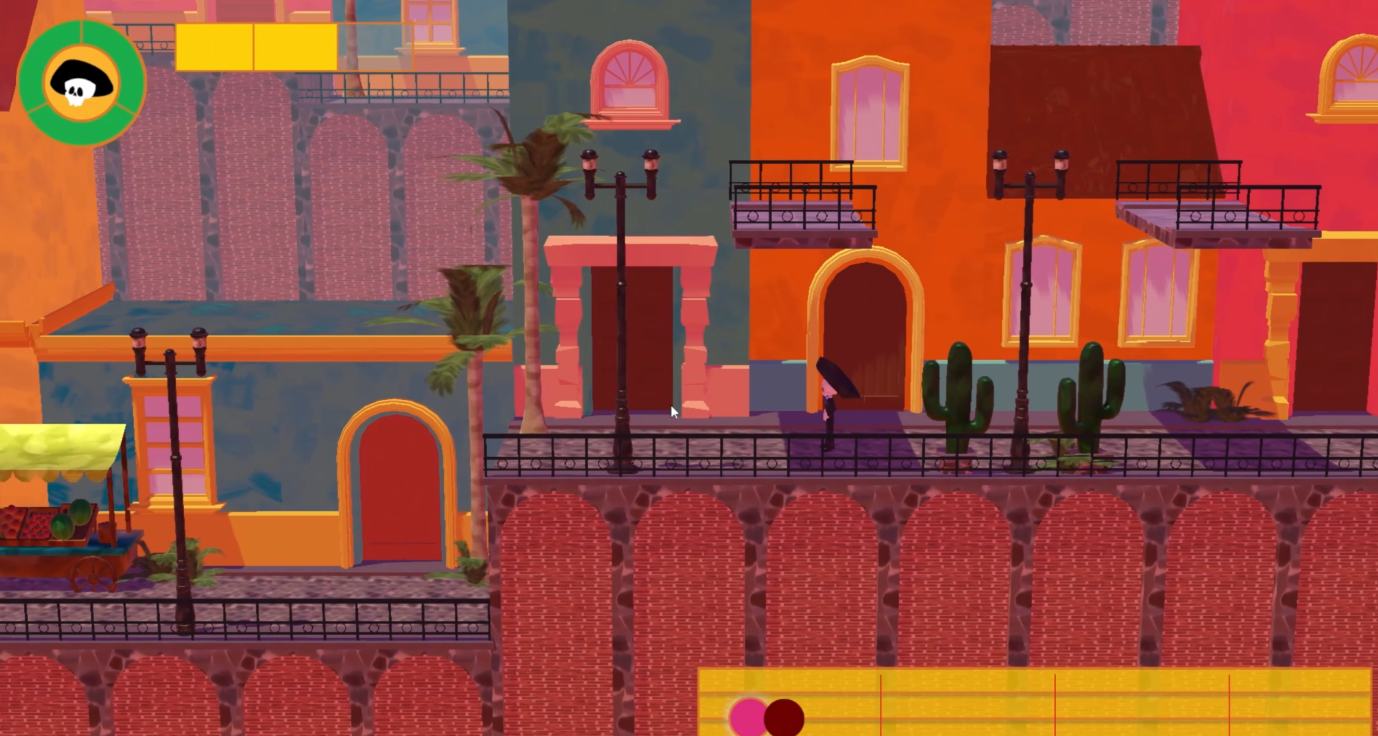
Facing left platforming camera mode: 60% screen in front of player direction
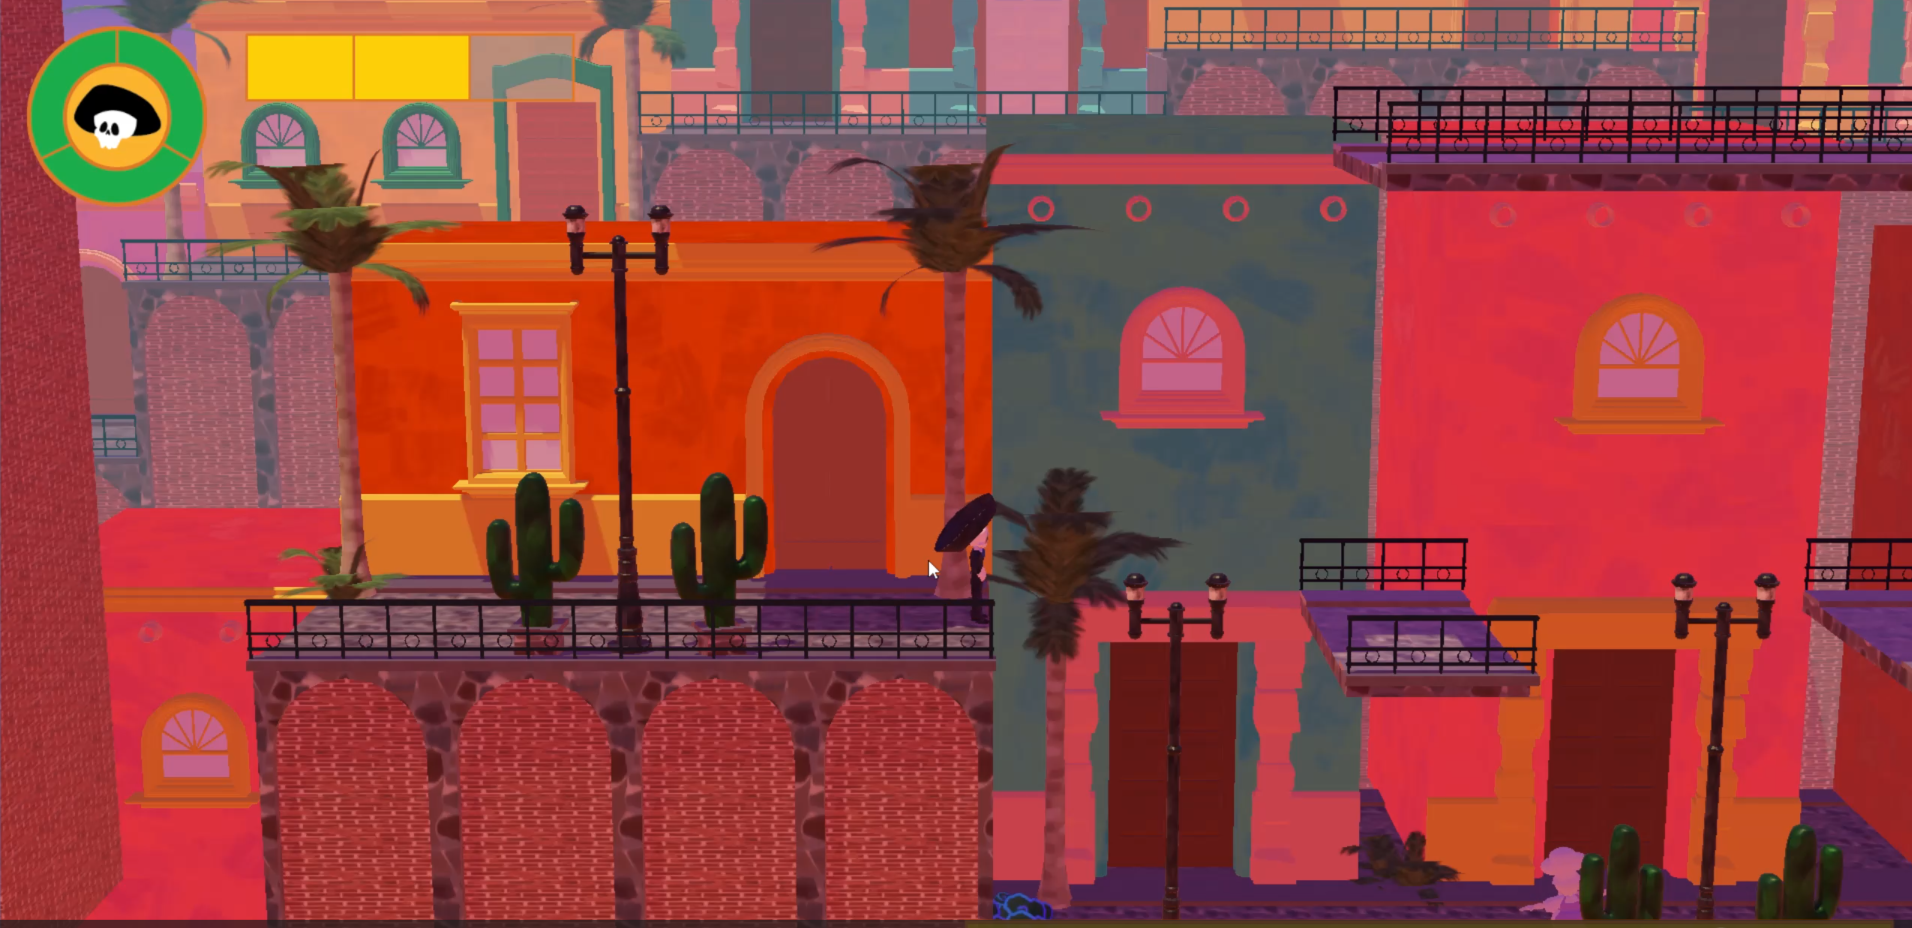
Combat camera mode (centered)
After some iteration, I set this up via a state machine. The advantage of having a camera state machine is so if new camera modes need to be added to the game, the state machine makes it easier and less cumbersome to do so. The camera state machine has states for combat and platforming modes, which are referenced from within the actual camera script. The state machine script has a _switch_camera_mode function that manages the states, which is called within the functions _on_player_lost and _on_player_detected. This design will support additional planned camera modes such as zooming in on the player in certain situations, panning through a level upon start, and other cinematics.
While seemingly deceptively simple, there is more to camera functionality than meets the eye. A state machine is needed for extensibility to new camera modes. Care needs to be taken so the player can have an appropriate view of the world based on different contextual situations. In addition, a well-functioning camera will scroll smoothly as opposed to being shaky. With this solid foundation, I am excited to continue iterating on the camera and seeing how it evolves through our final development push. In the meantime, “Spread joy!”
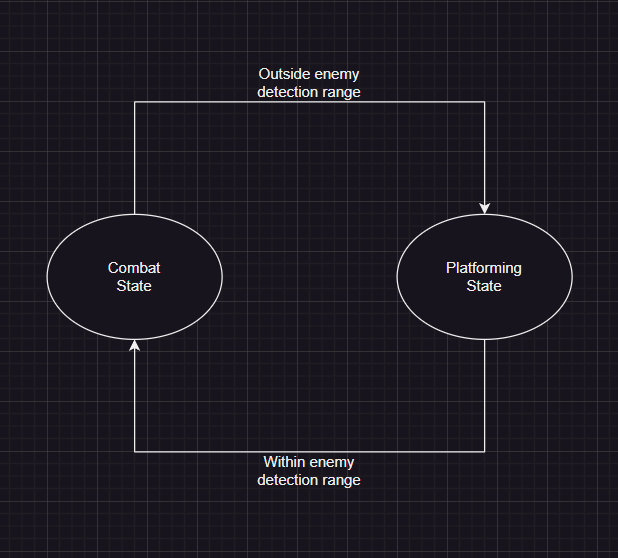
Camera state machine logic flow diagram
GIF of the camera in action